You’ve likely heard about method feeder fishing and want to try it, or you’re simply curious about how it works.
This guide will provide a straightforward overview of setting up a method feeder rig.
We’ll cover why this technique is effective, what gear you’ll need, and step-by-step instructions for setting up the rig.
By the end, you’ll have a clear understanding of how to use this setup to improve your fishing results. Let’s get started.
Key Takeaways
- Combines bait and ground bait to increase fish interest and catch rate.
- Works for various species like carp, bream, and tench in different waters.
- Use a feeder, bead, swivel, hook link, and ground bait for effective results.
- Adjust bait, ground bait consistency, and location based on fish behavior and conditions.
Why Method Feeder Fishing?
Before we get our hands dirty, let’s talk about why method feeder fishing has become the go-to technique for many anglers.
- Efficiency: It combines bait and groundbait in one neat package.
- Attractiveness: Creates a tempting feast for fish, increasing your catch rate.
- Versatility: Suitable for various species like carp, bream, and tench.
I remember the first time I tried method feeder fishing. The sun was just peeking over the horizon, and the lake was as still as glass. Within minutes of casting, I felt that telltale tug—a hefty carp on the line. I was hooked (pun intended). Now, let’s get you set up so you can share in the excitement.
What You’ll Need
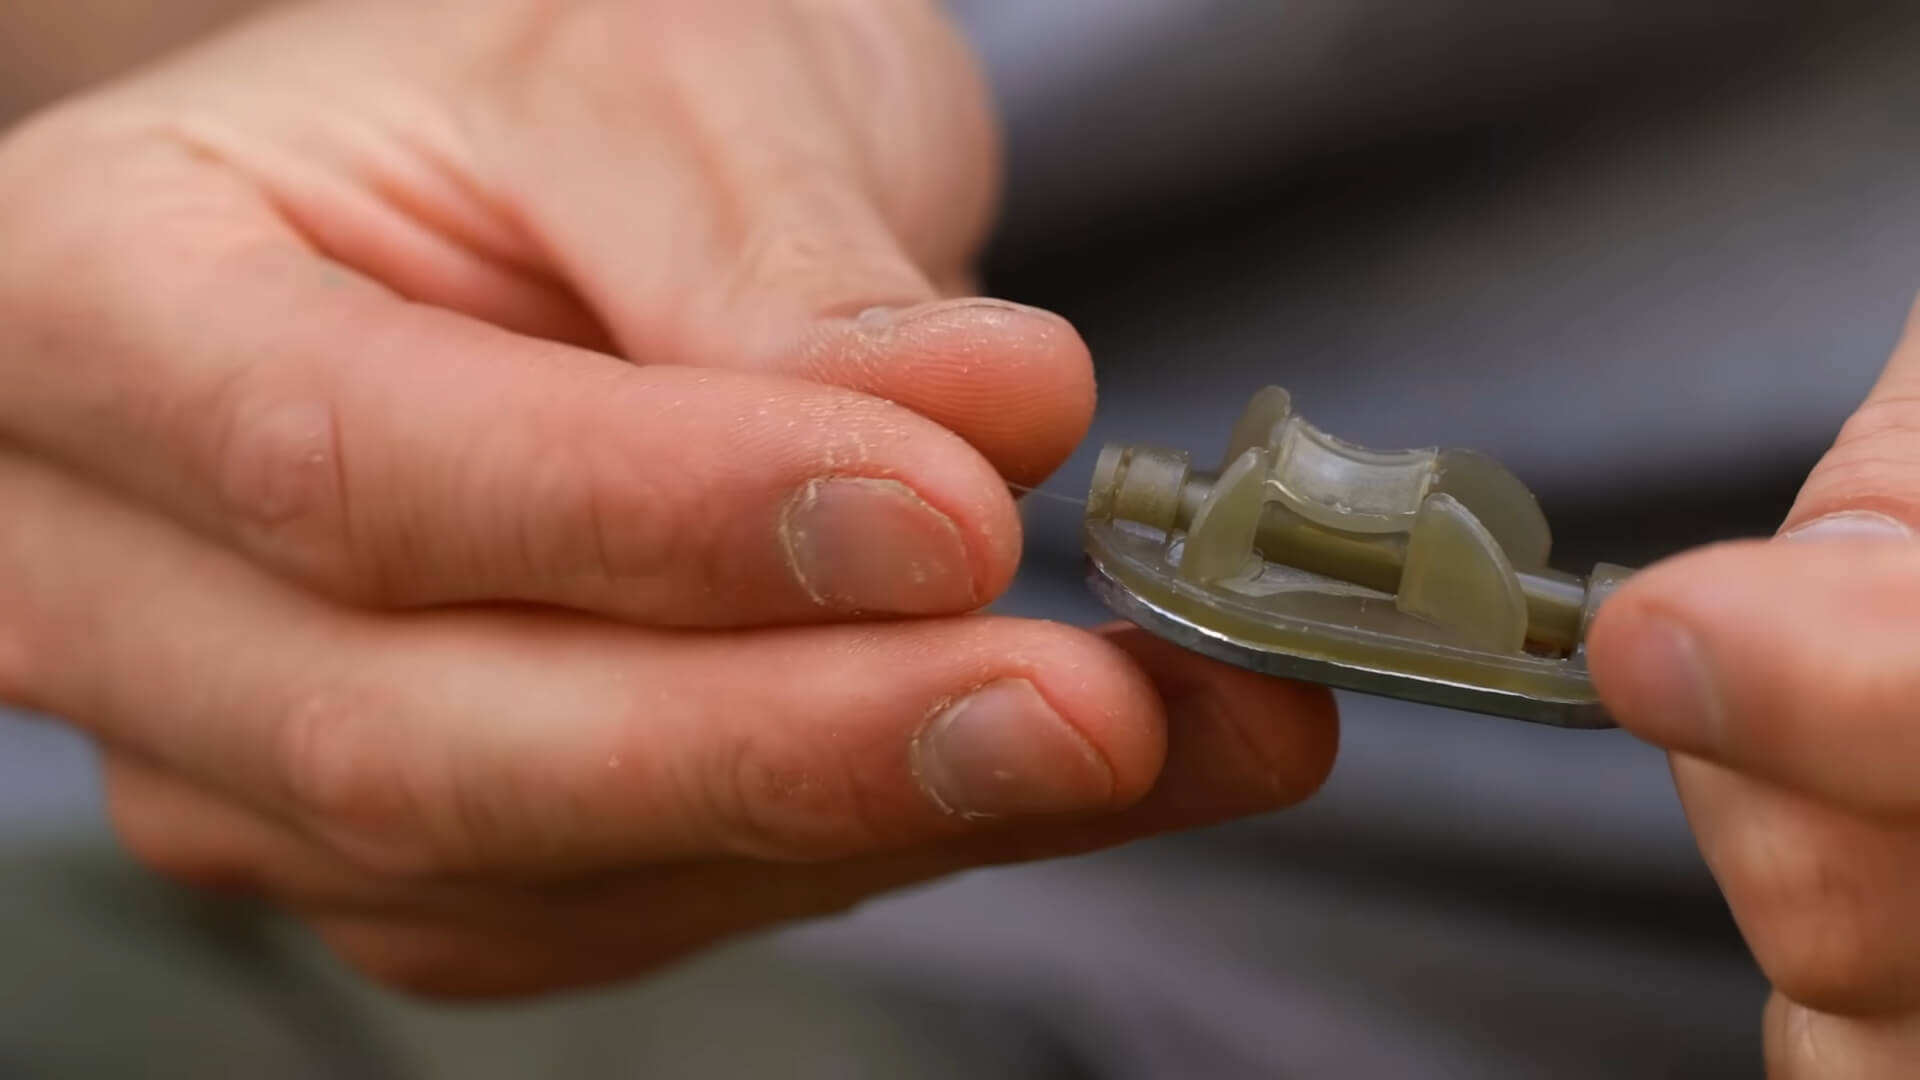
The Method Feeder
This is the star of the show. Method feeders come in various shapes and sizes, but they all serve the same purpose: delivering a payload of groundbait and hook bait right to the fish.
- Flatbed Feeders: Great for still waters.
- Cage Feeders: Ideal for rivers with a bit of current.
Rod and Reel
You’ll need gear that can handle the weight and distance.
- Rod: A feeder rod between 9 to 12 feet. Longer rods for longer casts.
- Reel: Match it with a reel that has a smooth drag system.
Line
- Mainline: 8-12 lb monofilament or braid.
- Hooklink: 4-6 inches of fluorocarbon or braid, lighter than the mainline.
Hooks and Bait
- Hooks: Size 10 to 14, depending on the target species.
- Bait: Boilies, pellets, corn, or whatever tickles the fish’s fancy in your local waters.
Extras
- Swivels
- Beads
- Baiting needle
- Groundbait mix
Step-by-Step Setup Guide
Step 1: Assemble Your Feeder Rig Components
Lay out all your gear. Trust me, it’s easier when you’re organized. Nothing’s worse than fumbling around for a swivel when you’re halfway through setting up.
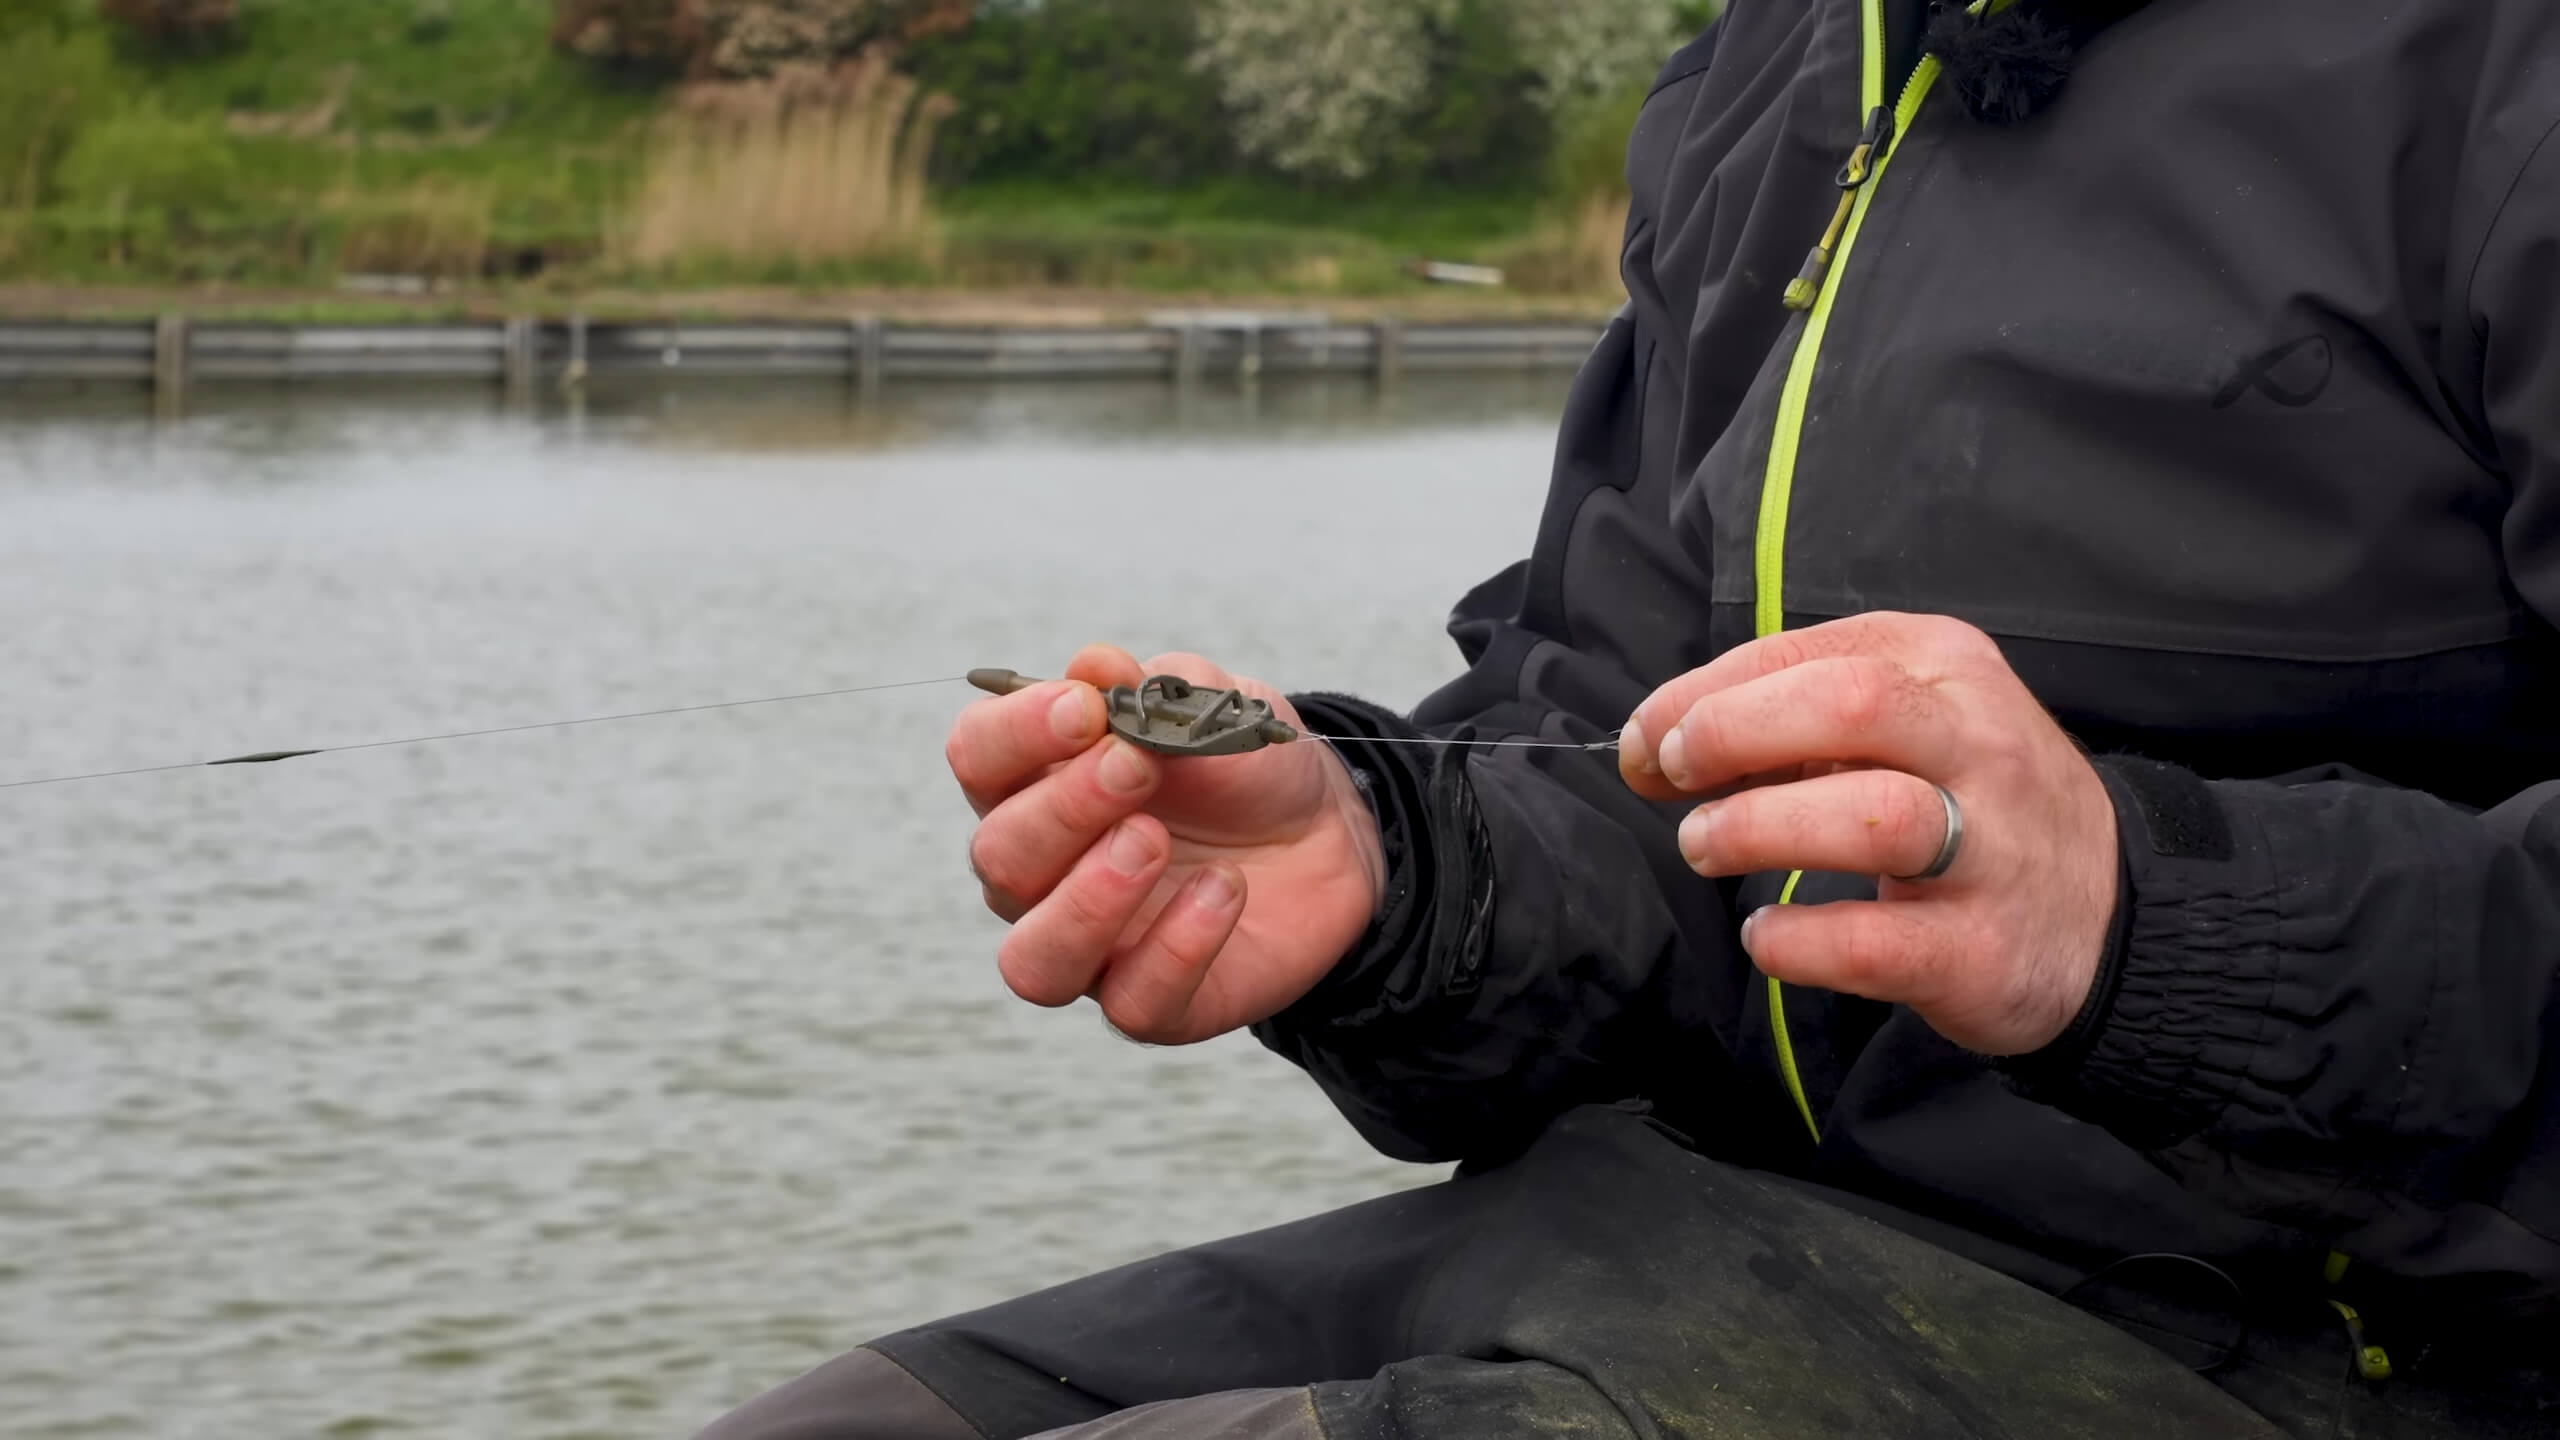
Step 2: Thread the Feeder Onto the Mainline
Start by threading your method feeder onto the mainline. Some anglers prefer a free-running setup, while others opt for a fixed rig. For beginners, a free-running rig is safer and more fish-friendly.
- Free-Running Rig: Allows the feeder to slide up and down the mainline.
- Fixed Rig: The feeder is fixed in place, providing better bite detection but can be riskier for the fish if the line breaks.
Step 3: Add a Bead
Thread a rubber or plastic bead onto the mainline after the feeder. This bead acts as a buffer between the feeder and the knot you’ll tie next, preventing any damage.
Step 4: Tie on the Swivel
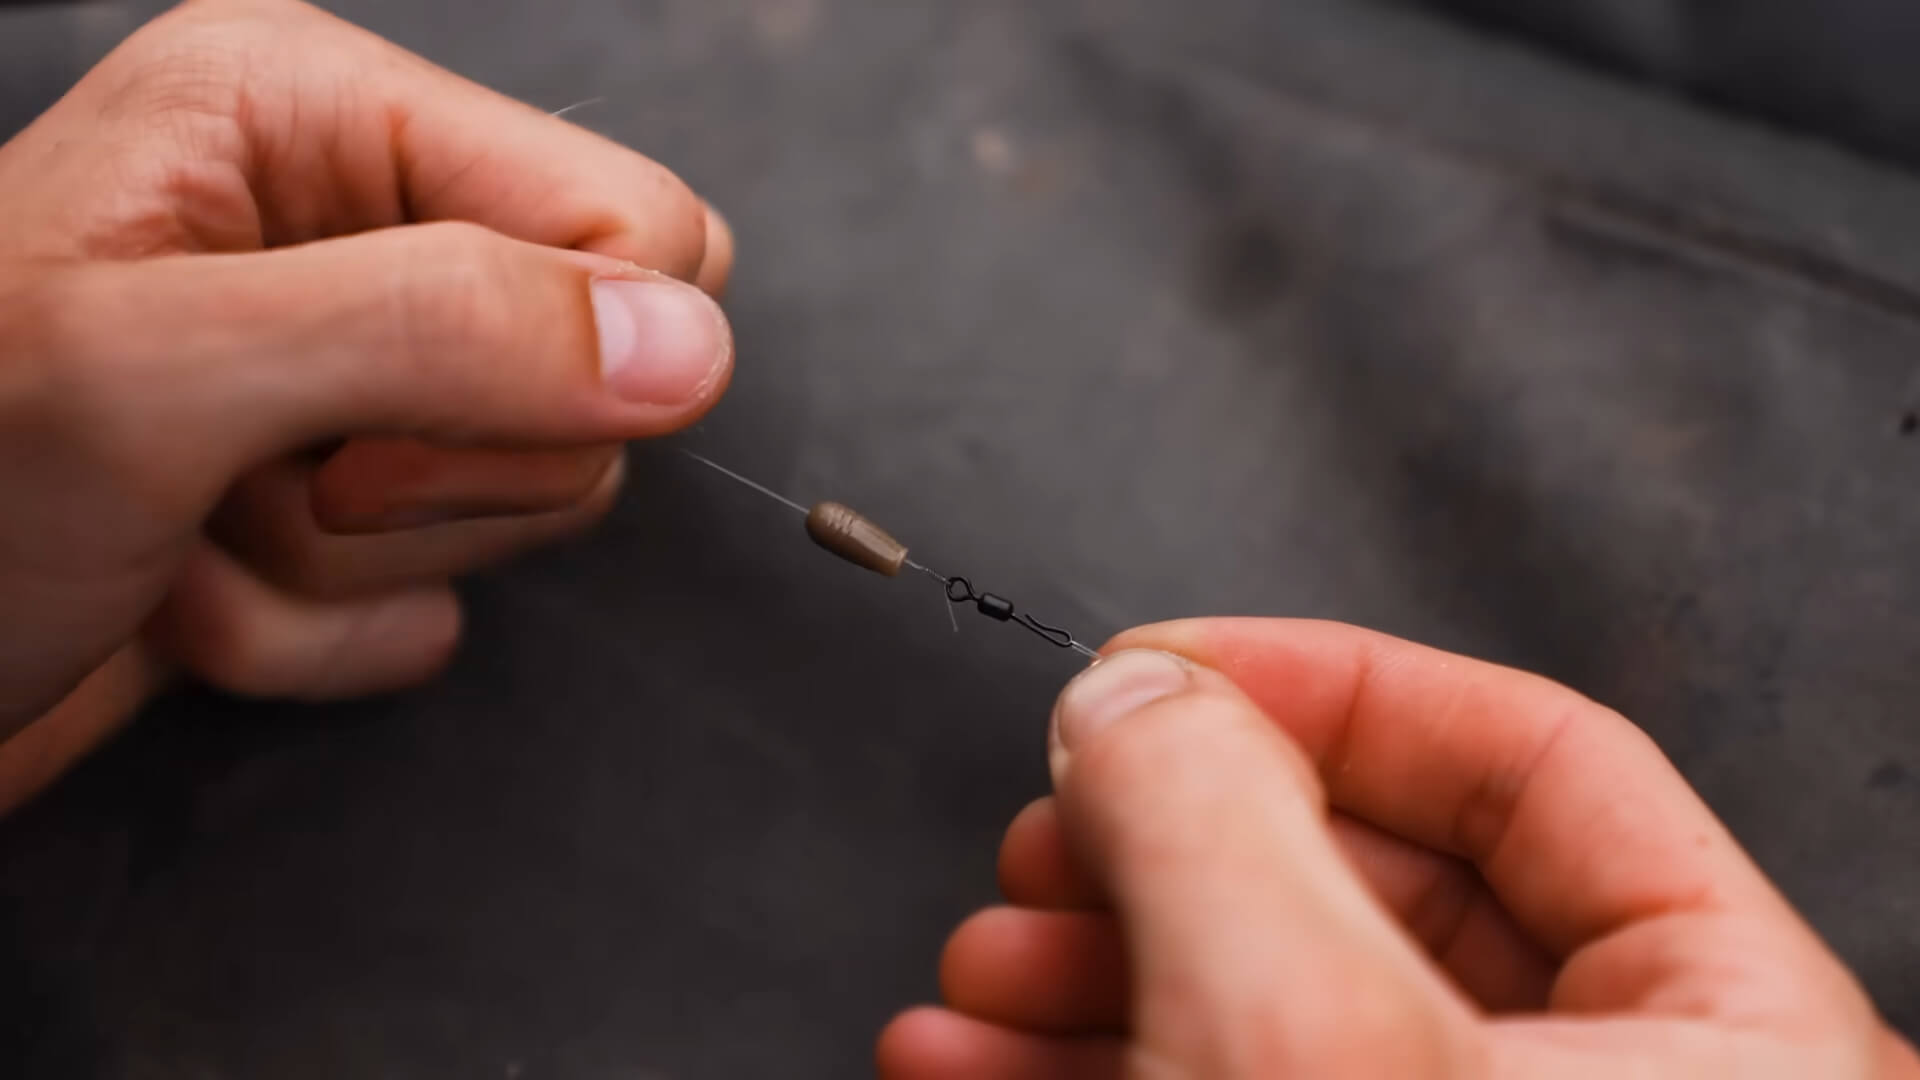
Use a strong knot like the Palomar or Uni knot to tie a swivel onto the end of your mainline.
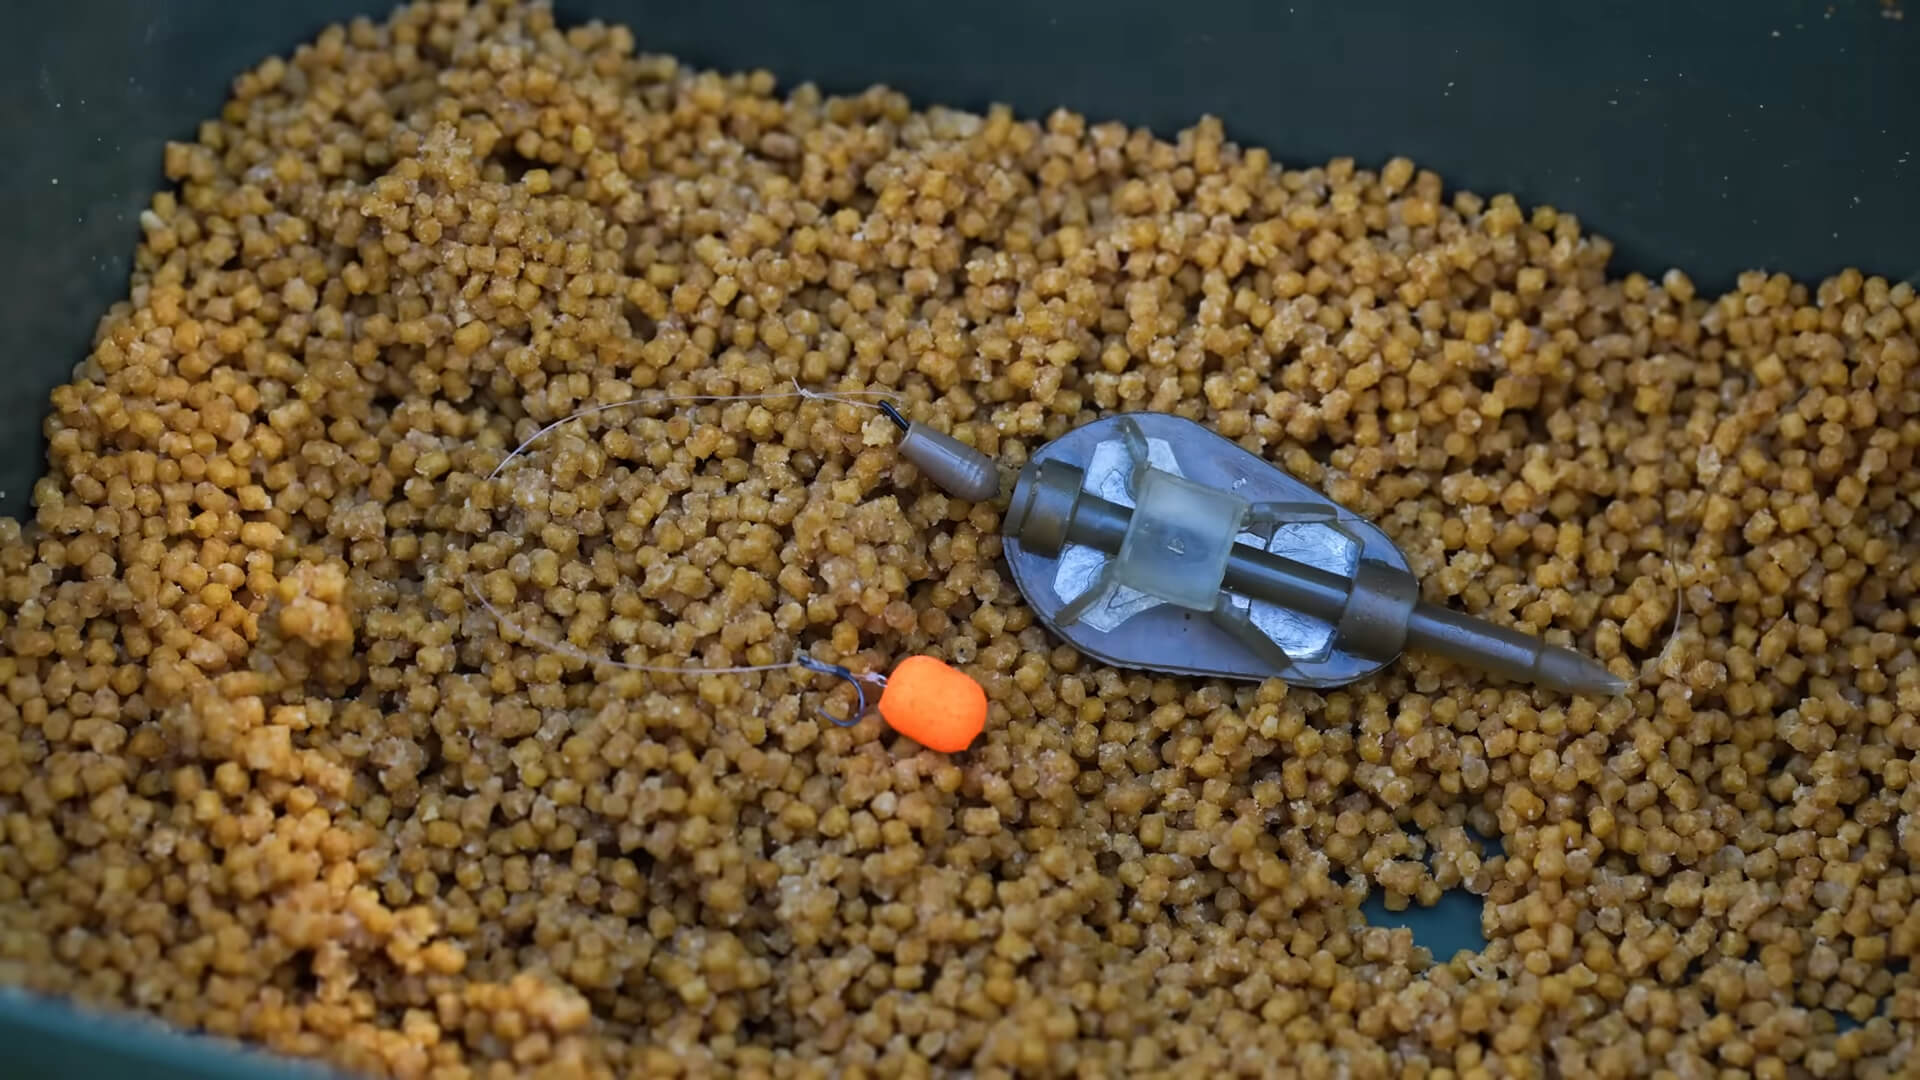
Step 5: Attach the Hooklink
Now, tie your hook onto the hooklink material. A hair rig is often used for method feeder fishing, especially when using boilies or pellets.
- Hair Rig: Allows the bait to sit just off the hook, increasing hook-ups.
- Simple Knotless Knot: Great for tying a hair rig.
Once your hook is tied, attach the other end of the hooklink to the swivel.
Step 6: Prepare Your Groundbait
Mix your groundbait according to the instructions. It should be moist enough to stick together but not so wet that it becomes slop.
- Consistency is Key: Test by squeezing a handful. It should form a ball that holds together.
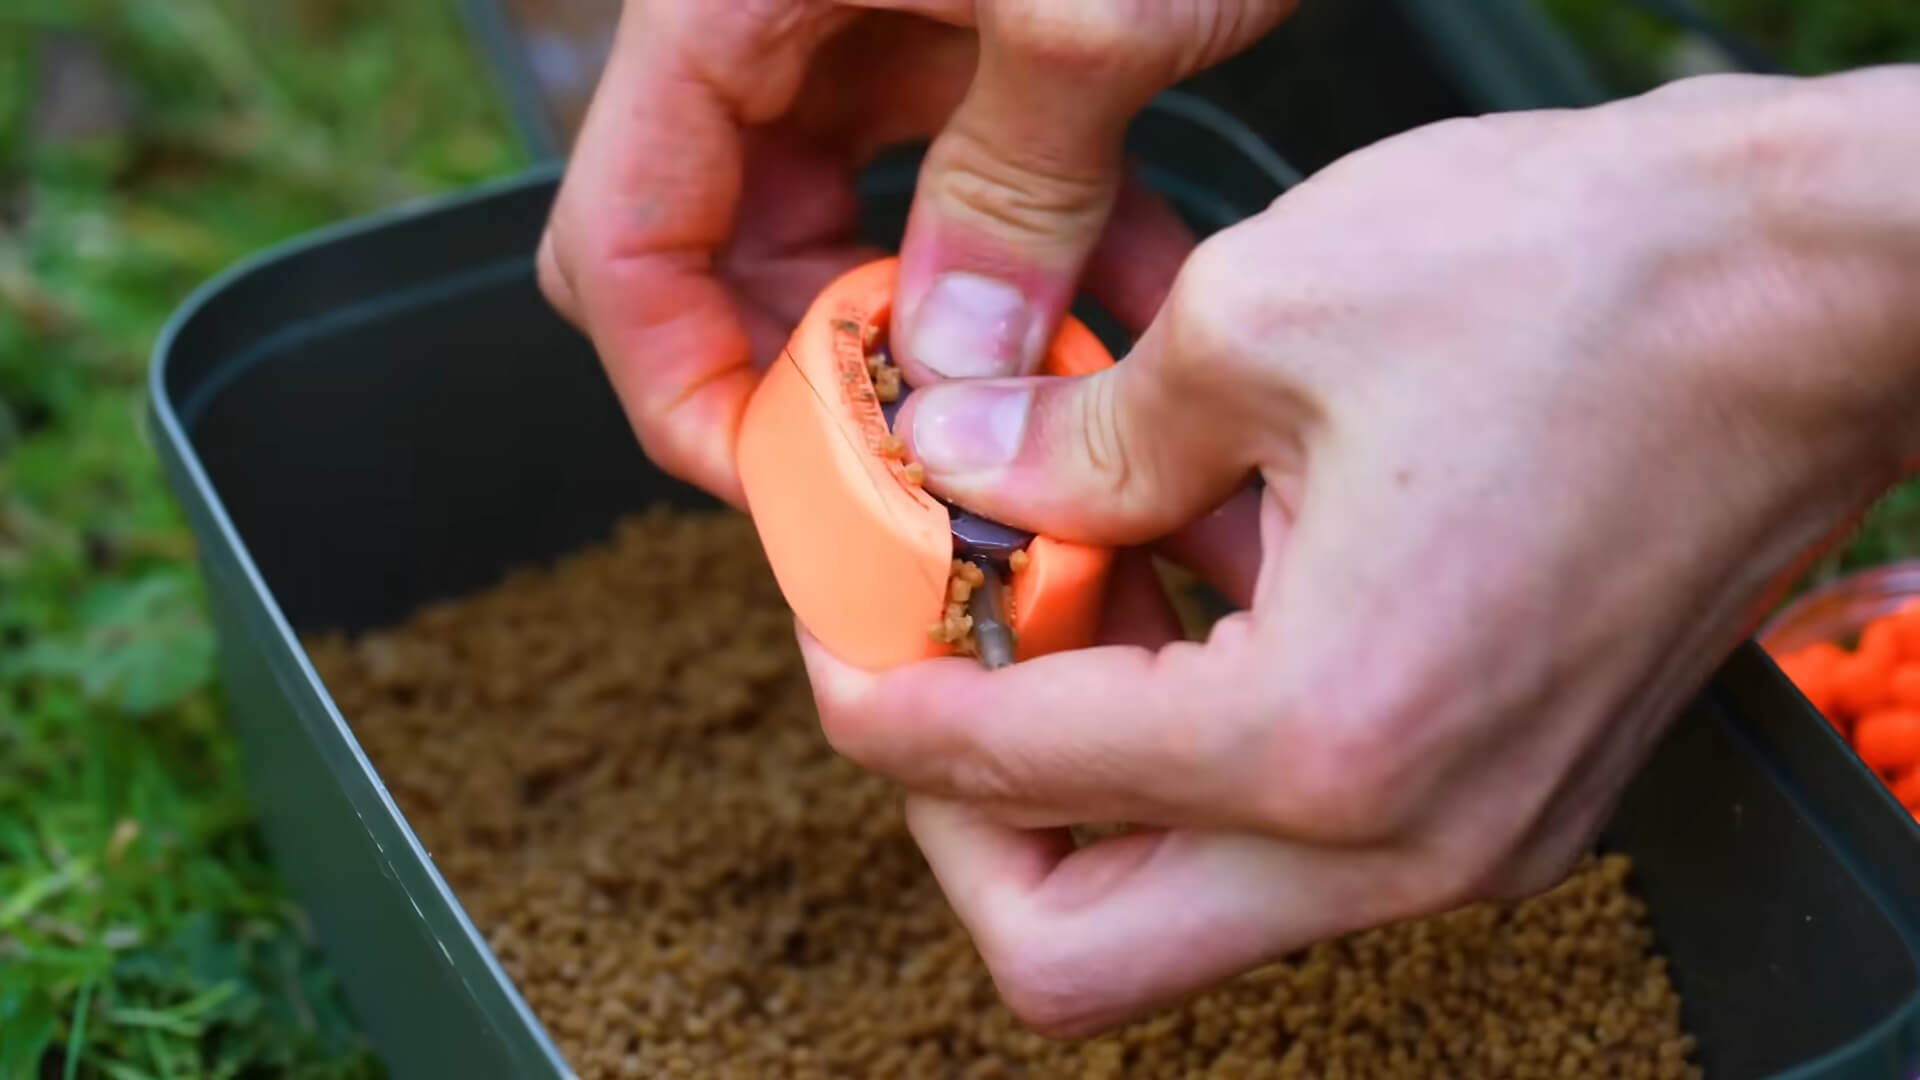
Step 7: Bait the Hook
Use a baiting needle to thread your chosen bait onto the hair rig. Secure it with a bait stop.
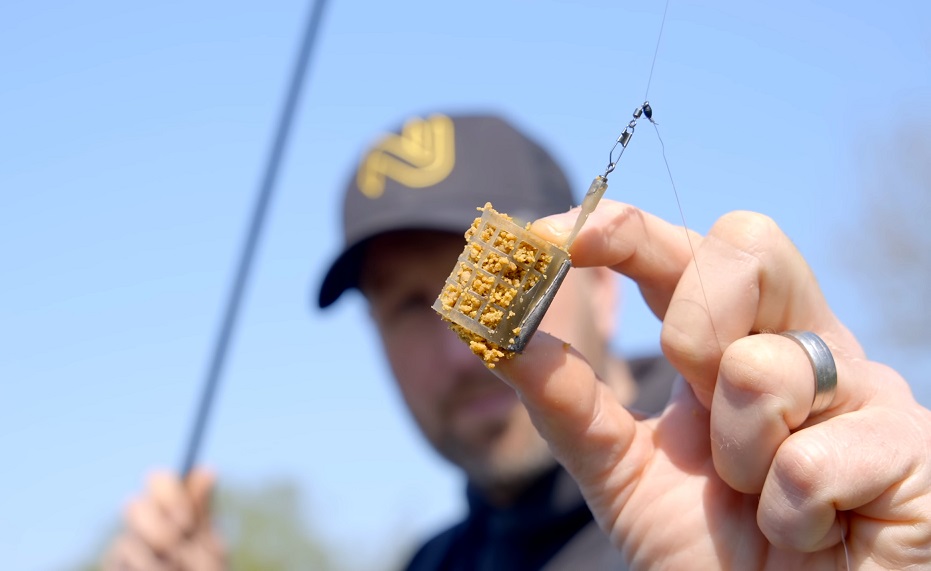
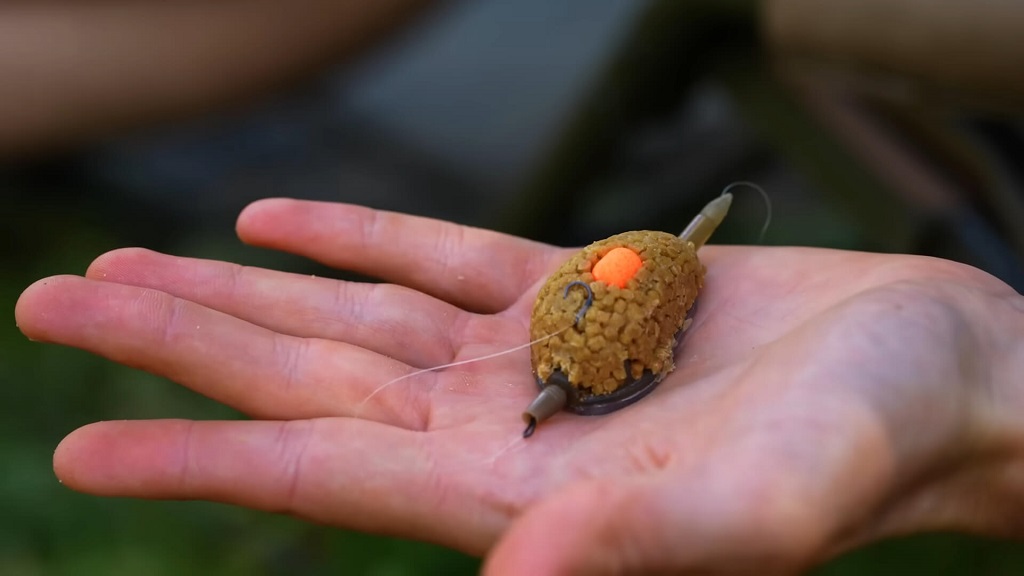
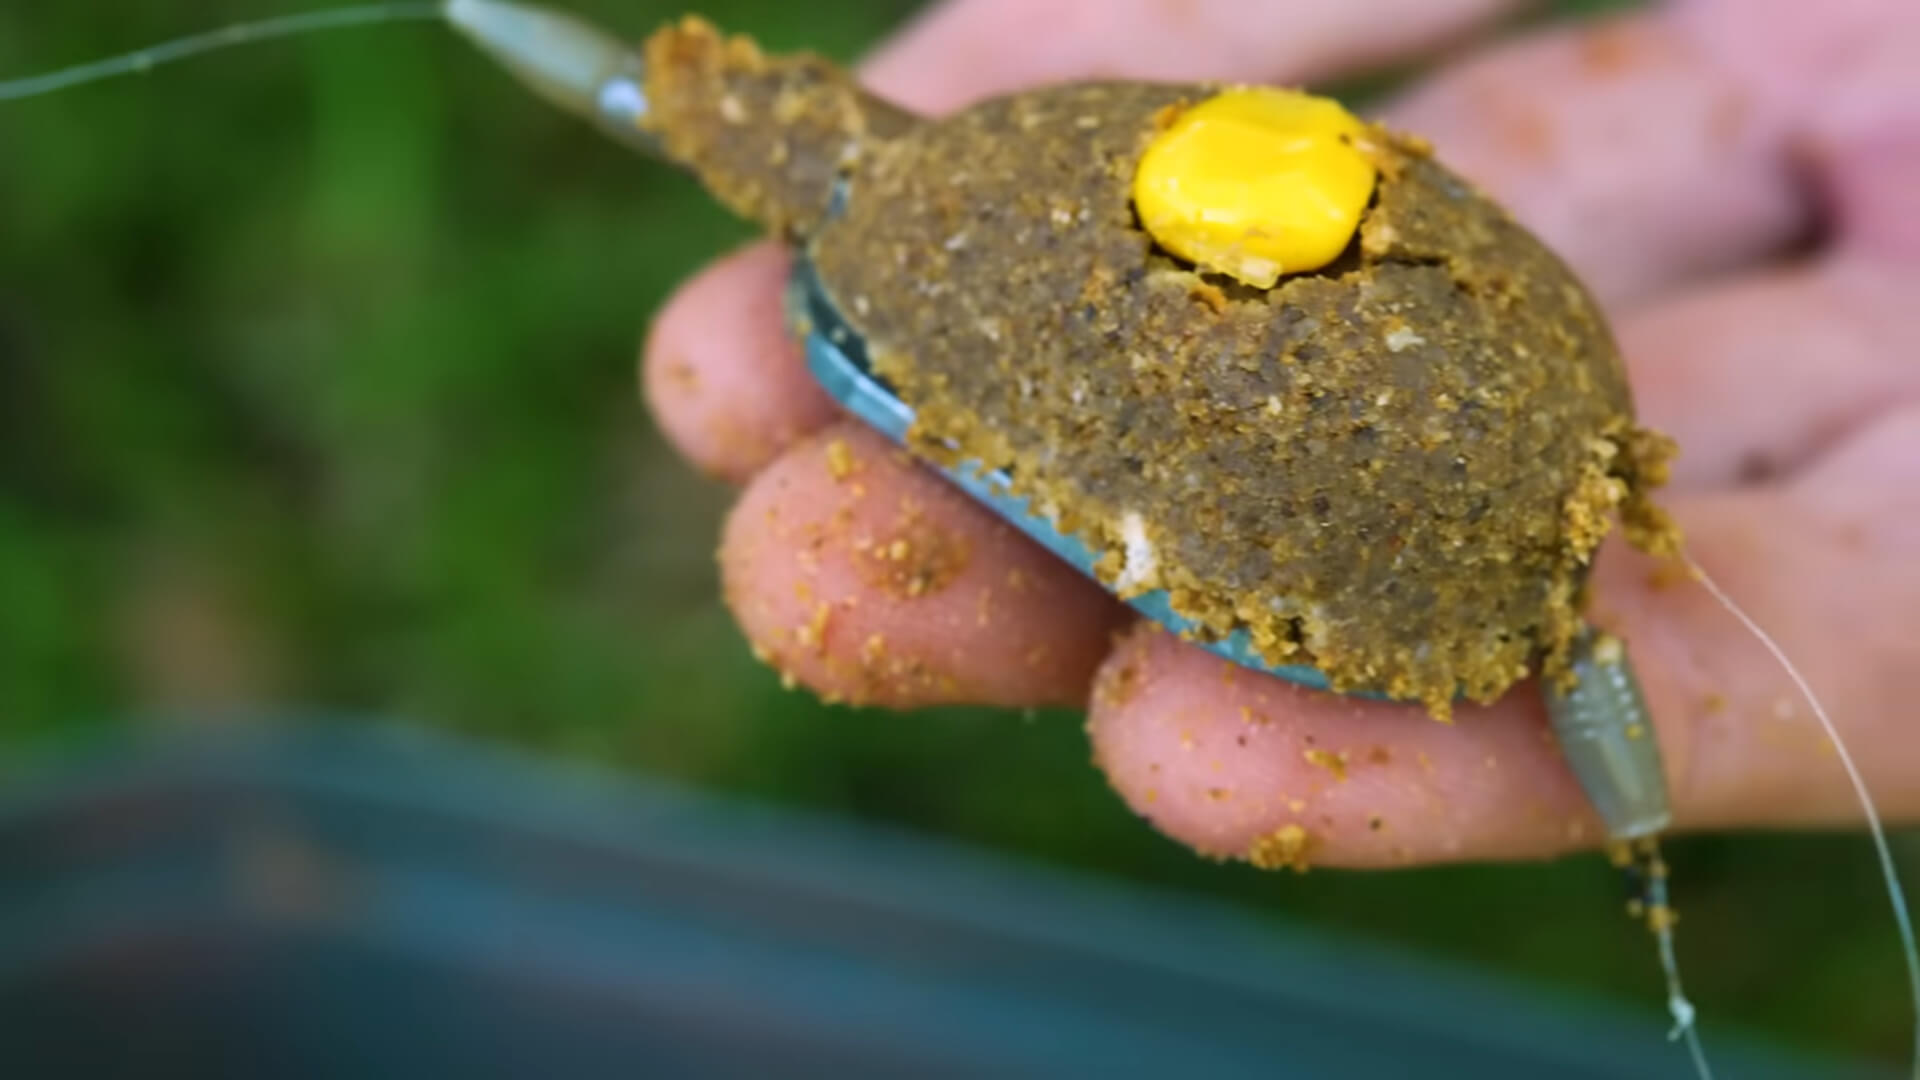
Step 8: Load the Feeder
Here’s where the magic happens.
- First Layer: Press a bit of groundbait into the feeder.
- Place the Hook Bait: Lay your baited hook onto this layer.
- Second Layer: Cover the hook and bait with more groundbait, pressing firmly.
This sandwich ensures that your hook bait is right in the middle of the groundbait ball.
Step 9: Casting the Rig
Time to send it out there.
- Smooth Cast: Aim for a fluid motion to prevent the groundbait from dislodging.
- Feather the Line: As the rig hits the water, feather the line to reduce splash and keep the feeder intact.
Step 10: Set the Rod
Place your rod on a rest or in a holder, with the tip slightly bent to maintain tension. Engage the bait runner if your reel has one, or loosen the drag to prevent your rod from being pulled in by a strong fish.
Tips and Tricks
Bait Selection
- Match the Hatch: Use baits similar to what fish naturally feed on in your area.
- Flavors and Scents: Don’t be afraid to experiment with flavored pellets or additives.
Location, Location, Location
- Features: Cast near features like islands, reeds, or drop-offs where fish are likely to be.
- Consistency: Once you find a hotspot, keep casting to the same spot to build up a feeding area.
Timing
- Be Patient: Give the fish time to find your bait. If nothing happens after 20-30 minutes, reel in and reload.
- Stay Alert: Method feeder bites can be aggressive. Be ready to grab that rod.
Seasonal Adjustments
- Winter: Fish are less active. Use smaller baits and lighter feeders.
- Summer: Fish are feeding heavily. Don’t be shy with the amount of groundbait.
Common Mistakes to Avoid
Overcomplicating the Rig
Keep it simple, especially when you’re starting out. The more complicated the rig, the more things can go wrong.
Ignoring the Groundbait Consistency
Too dry, and it won’t stick. Too wet, and it won’t break apart underwater. Get that Goldilocks mix—just right.
Using the Wrong Equipment
A mismatched rod and reel can make casting a nightmare and playing a fish more difficult. Invest in gear suited for method feeder fishing.
Neglecting to Check Knots
Always check your knots before casting. A weak knot can result in lost fish and lost gear.
Advanced Techniques
Using Quick Change Beads
These allow you to swap hooklinks quickly without retying knots—a real time-saver when experimenting with different hook lengths or baits.
Incorporating PVA Bags
Some anglers add a PVA (polyvinyl alcohol) bag filled with pellets or groundbait to their rig. It dissolves in water, creating an extra attractive cloud around your bait.
Adjusting Hooklink Length
Shorter hooklinks (around 4 inches) are standard, but sometimes a slightly longer hooklink can improve your catch rate, especially in colder water.
Safety and Ethics
- Fish Care: Use barbless hooks for easier removal.
- Environment: Dispose of any litter or unused bait properly.
- Legal Regulations: Always check local fishing regulations regarding baits, seasons, and licenses.
Wrapping It Up
Method feeder fishing is an effective and exciting way to up your angling game. With the right setup and a bit of patience, you’ll be landing more fish in no time.
Remember, the key is in the preparation:
- Set Up Correctly: Take the time to get your rig right.
- Stay Observant: Pay attention to what’s happening in the water.
- Be Adaptable: Don’t be afraid to change tactics if something isn’t working.
So next time you head out to the water, give the method feeder rig a try. Who knows? You might just catch the fish of a lifetime.
Tight Lines and Enjoy!
If you found this guide helpful or have any stories about your own method feeder adventures, feel free to share them in the comments below.
Let’s keep the conversation going and help each other become better anglers.