
If you’re into fishing, you already know that nightcrawlers are some of the best live bait you can get. But instead of running to the store every time you need them, why not raise your own? It’s easier than you think, and it’s a fun little project that gives you a steady supply of bait whenever you want.
Plus, it’s a great way to recycle kitchen scraps and get some rich compost for your garden. Whether you’re new to this or have tried it before, this guide will walk you through the steps to set up your own nightcrawler farm and keep it thriving. Let’s dig in and get those worms growing!
DIY Tips For Raising Your Nightcrawlers
- Find the Right Spot for Your Worm Bin
- Gather Your Supplies
- Set Up Your Worm Bin
- Prepare the Bedding and Soil
- Add Your Nightcrawlers
- Feed and Maintain Your Worms
- Troubleshoot Common Issues
- Harvesting Your Nightcrawlers for Bait
1.Find the Right Spot for Your Worm Bin
| Detail | Information |
|---|---|
| Best Location | Shady and cool, avoid direct sunlight |
| Temperature Range | 55°F to 78°F |
| Indoor/Outdoor | Can be placed indoors or outdoors |
| Preferred Areas | Garage, basement, closet, or shaded corner of the yard |
When choosing a spot for your worm bin, aim for a location that’s cool, shaded, and away from direct sunlight. Nightcrawlers prefer darkness and consistent temperatures, so places like a garage, basement, or a shady spot in your yard work well. The ideal temperature range is between 55°F and 78°F, which keeps your worms comfortable and active.
If you’re setting up outdoors, make sure the area is protected from heavy rain and temperature extremes. Indoors, a closet or a corner that stays cool can also be effective. The key is to avoid areas with drastic temperature changes or too much light, as these can stress your worms and slow down their growth.
2. Gather Your Supplies
| Supply | Details |
|---|---|
| Container Size | 2 ft x 3 ft, at least 10 inches deep |
| Bedding Material | Peat moss, shredded paper, or cardboard |
| Soil | Organic, well-balanced potting soil |
| Food Scraps | Vegetables, fruit peels, coffee grounds, crushed eggshells |
| Drainage and Aeration | Drill with ¼-inch bit for holes |
| Worms | European nightcrawlers (recommended starter amount: 400-500 worms) |
To get started, you’ll need a sturdy container with enough space for your worms to thrive. A good size is about 2 feet by 3 feet, with a depth of at least 10 inches. The bedding material is key for a healthy worm environment—peat moss works best, but you can also use shredded paper or cardboard. Make sure to add a layer of organic potting soil for grit, which helps the worms digest food.
Drilling small holes in the container ensures proper drainage and aeration, preventing the bedding from becoming waterlogged. When it comes to feeding, nightcrawlers love vegetable scraps, fruit peels, coffee grounds, and crushed eggshells. Avoid meat, dairy, and citrus, as these can cause odors and harm the worms.
Finally, you’ll need your nightcrawlers. European nightcrawlers are often recommended because they reproduce quickly and are hardy. Starting with around 400-500 worms is usually a good balance for a bin of this size.
3. Set Up Your Worm Bin
| Setup Task | Details |
|---|---|
| Drilling Holes | Drill ¼-inch holes 4 inches apart on the bottom and lid |
| Drainage Consideration | Elevate the bin if indoors to catch any leaks or drips |
| Layering the Bedding | Add 8 inches of peat moss or shredded paper bedding |
| Moisture Level | Keep bedding moist but not soaked (damp like a wrung-out sponge) |
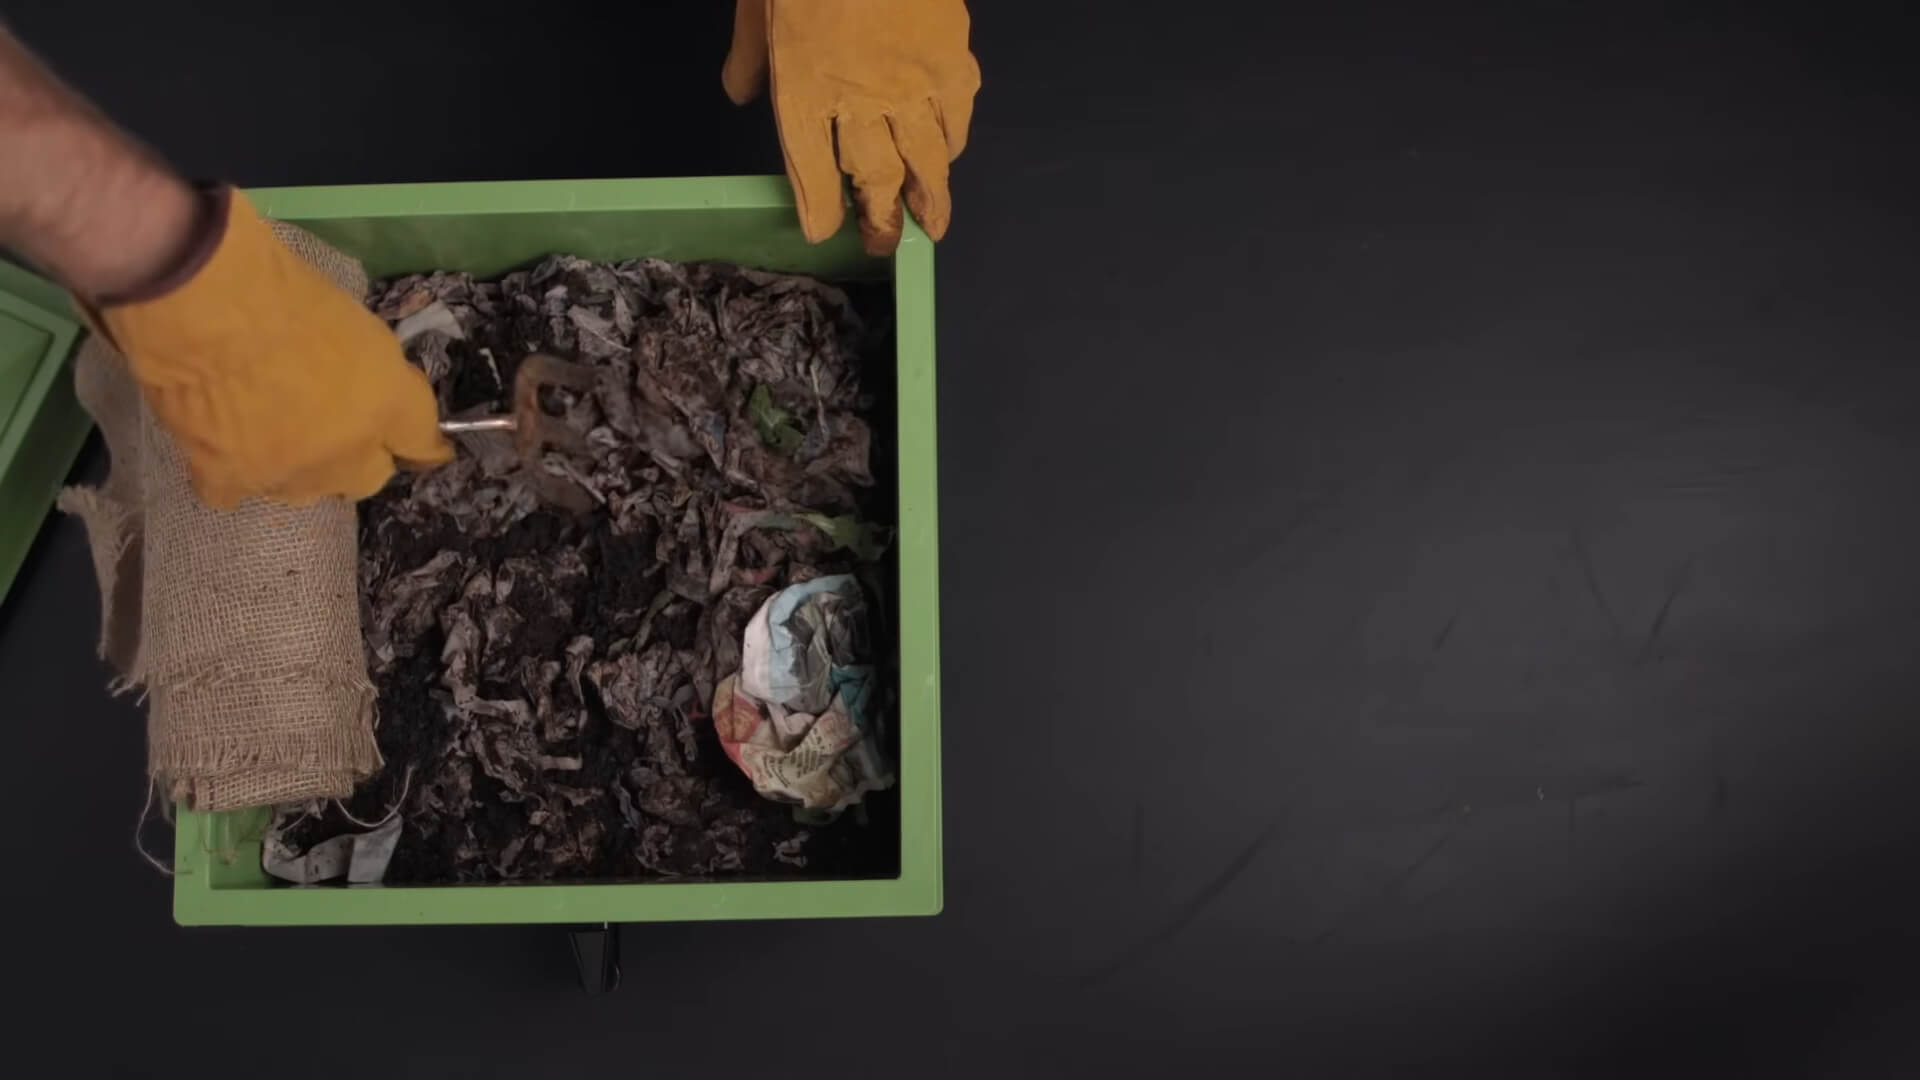
Start by drilling small holes in the bottom and lid of your bin, spaced about 4 inches apart. These holes are essential for proper drainage and air circulation, preventing your worms from getting too wet or deprived of oxygen. If you’re keeping the bin indoors, consider placing it on an elevated surface over a larger plastic container to catch any excess water.
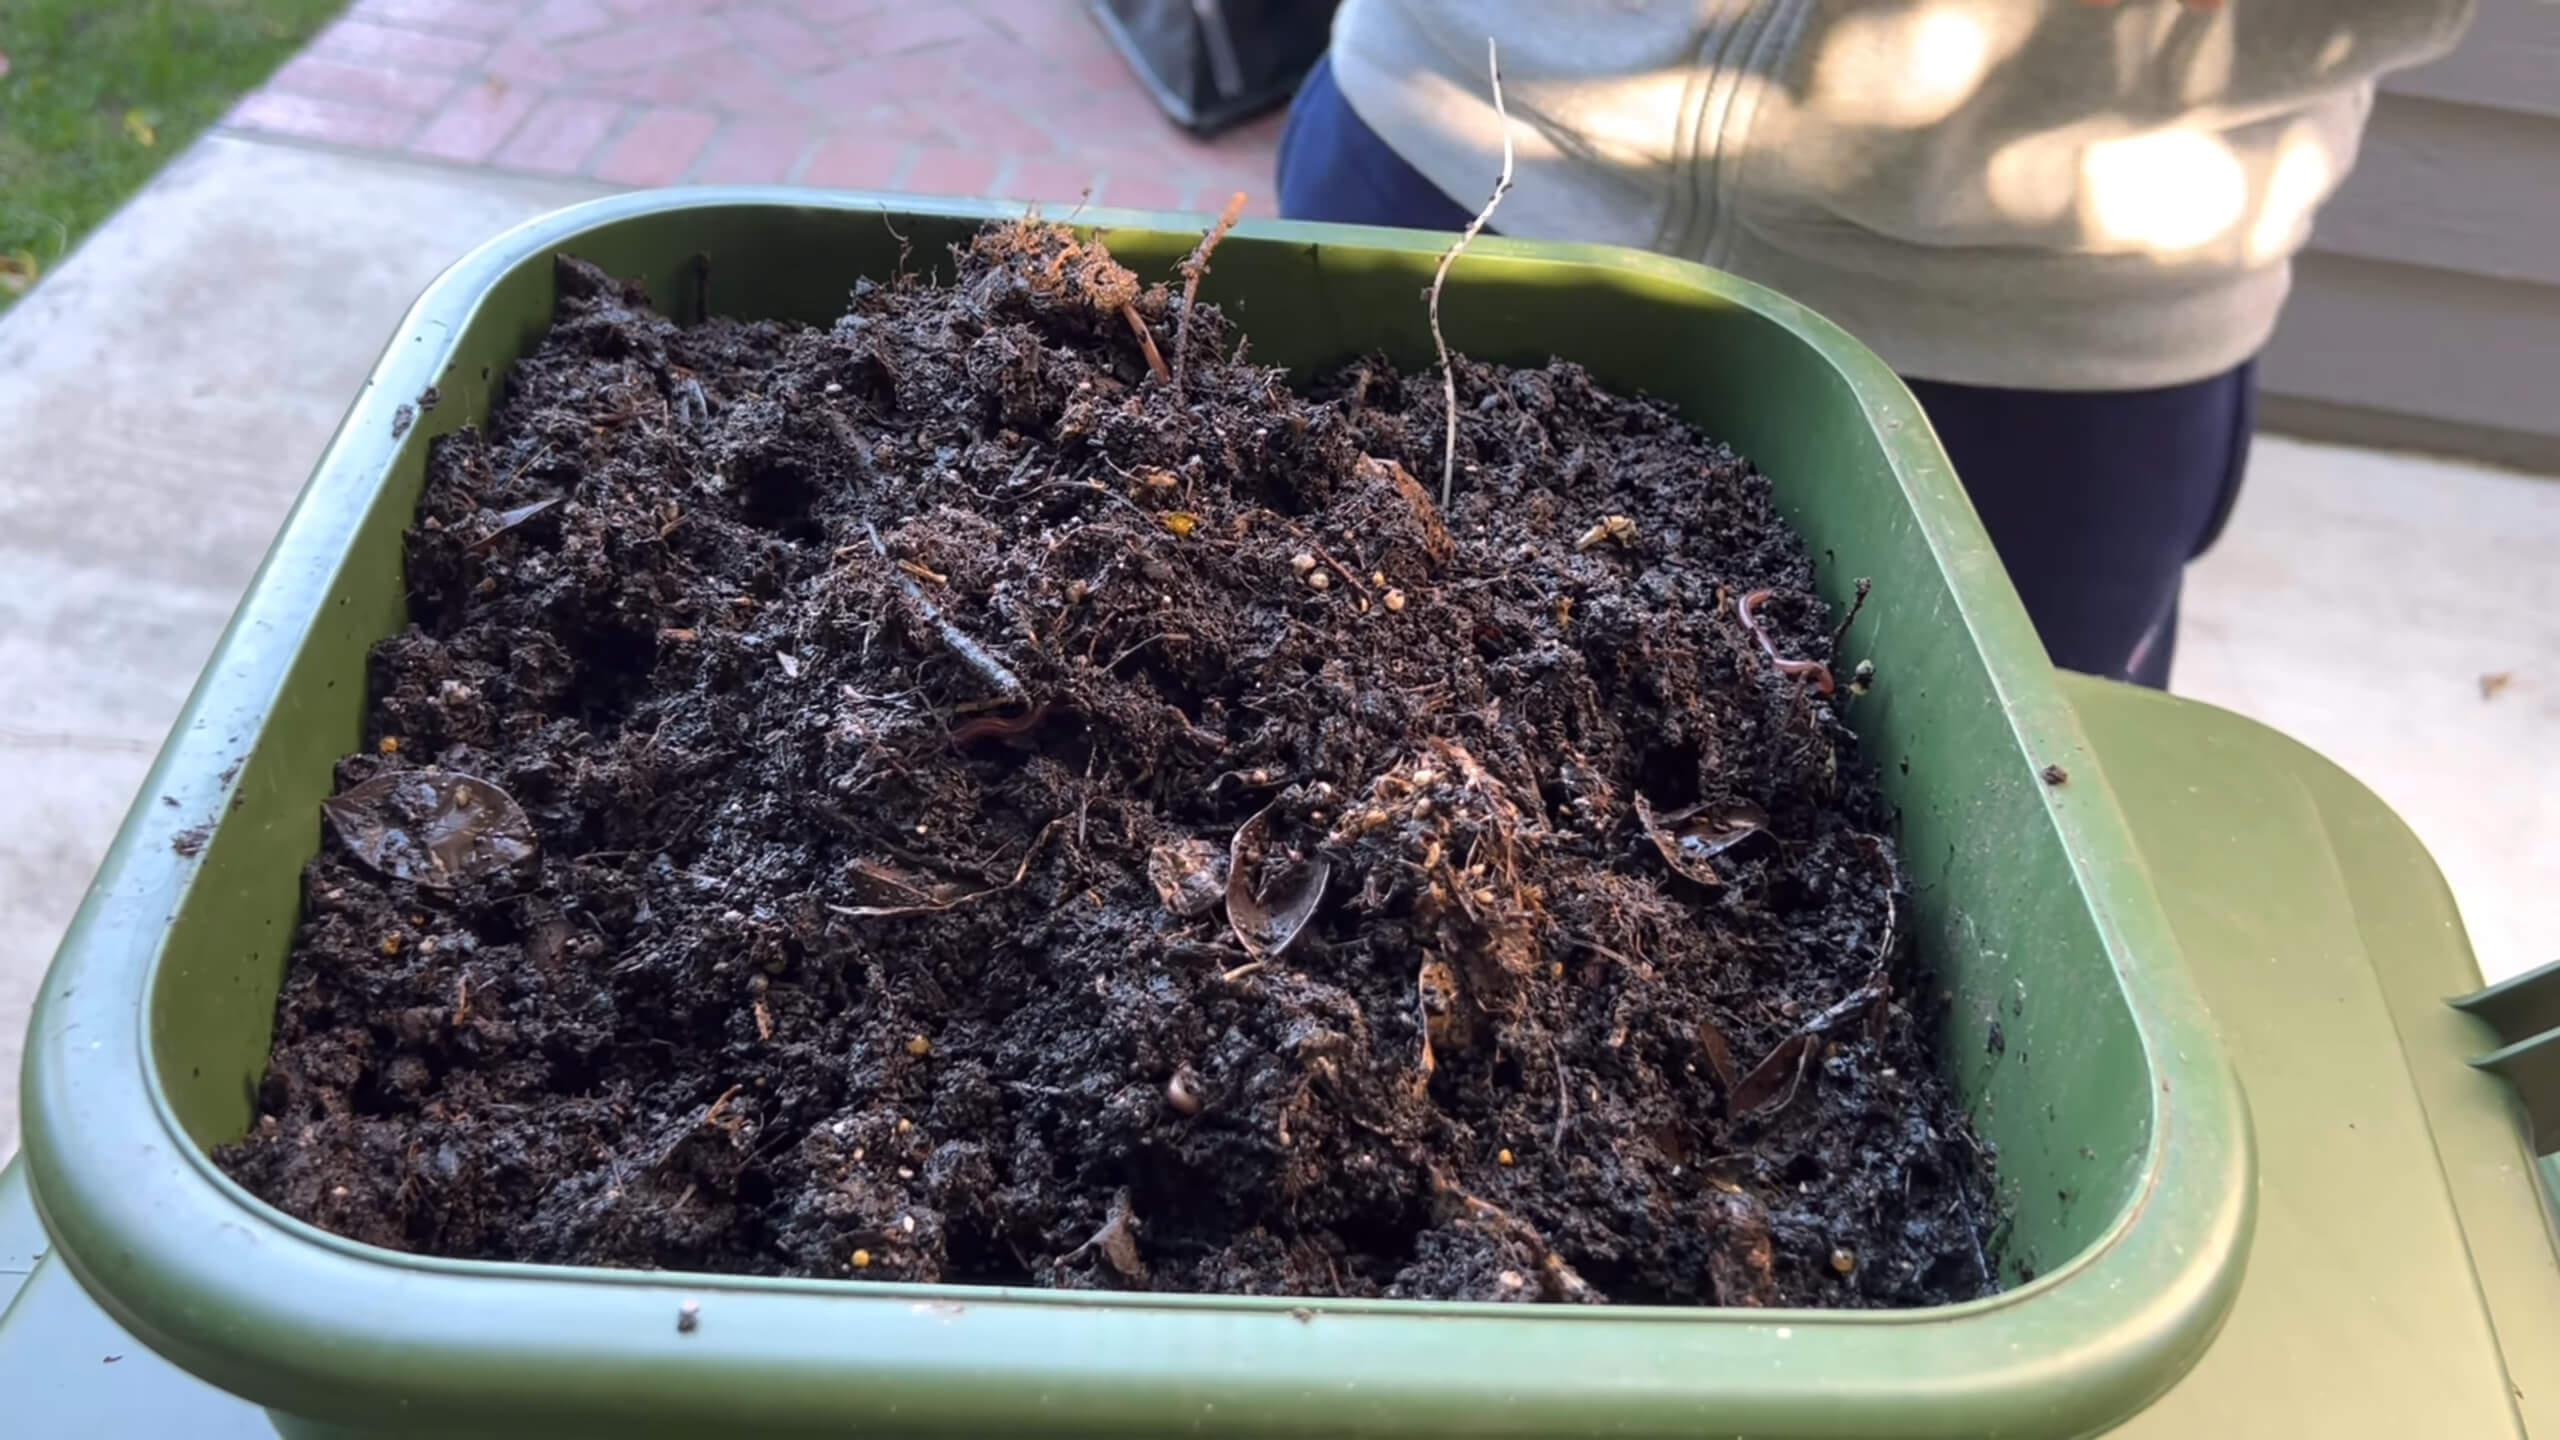
Next, create the bedding. Add a layer of about 8 inches of peat moss, shredded paper, or cardboard. Ensure the bedding is evenly spread out and moist, but not dripping wet—aim for a texture similar to a wrung-out sponge. This environment mimics the worms’ natural habitat, providing them with the comfort they need to stay healthy and active.
4. Prepare the Bedding and Soil
| Preparation Task | Details |
|---|---|
| Bedding Depth | 8 inches of bedding material |
| Moisture Level | Damp, like a wrung-out sponge |
| Food Scrap Preparation | Chop scraps into small pieces or blend for faster decomposition |
| Mixing the Bedding | Combine bedding with shredded “browns” (paper, cardboard) |
| Adding Soil | Sprinkle 3-4 cups of loose, organic soil on top |
Start by layering your bedding material to a depth of about 8 inches. The bedding can consist of peat moss, shredded paper, or cardboard. Just make sure it’s all evenly moist, similar to the feel of a wrung-out sponge. This moisture level is crucial for the worms’ comfort and activity.
Before adding food scraps, chop them into small pieces or pulse them in a food processor to speed up decomposition. Mix in shredded paper or cardboard to create a balanced bedding mix of “greens” (food scraps) and “browns” (paper). This balance helps maintain the right carbon-to-nitrogen ratio, ensuring a stable environment for your worms.
Once your bedding is set, sprinkle a thin layer of loose soil (around 3 to 4 cups) on top. The soil provides necessary grit, which helps the worms digest their food more effectively. With everything in place, your worm bin is now fully prepared for its new inhabitants.
5. Add Your Nightcrawlers
| Task | Details |
|---|---|
| Number of Worms | Start with 400-500 worms (about half a pound) |
| Type of Nightcrawler | European nightcrawlers (Eisenia hortensis) recommended |
| Introducing Worms to Bedding | Gently place worms on top of the prepared bedding |
| Initial Adaptation Period | Allow a few days for the worms to acclimate |
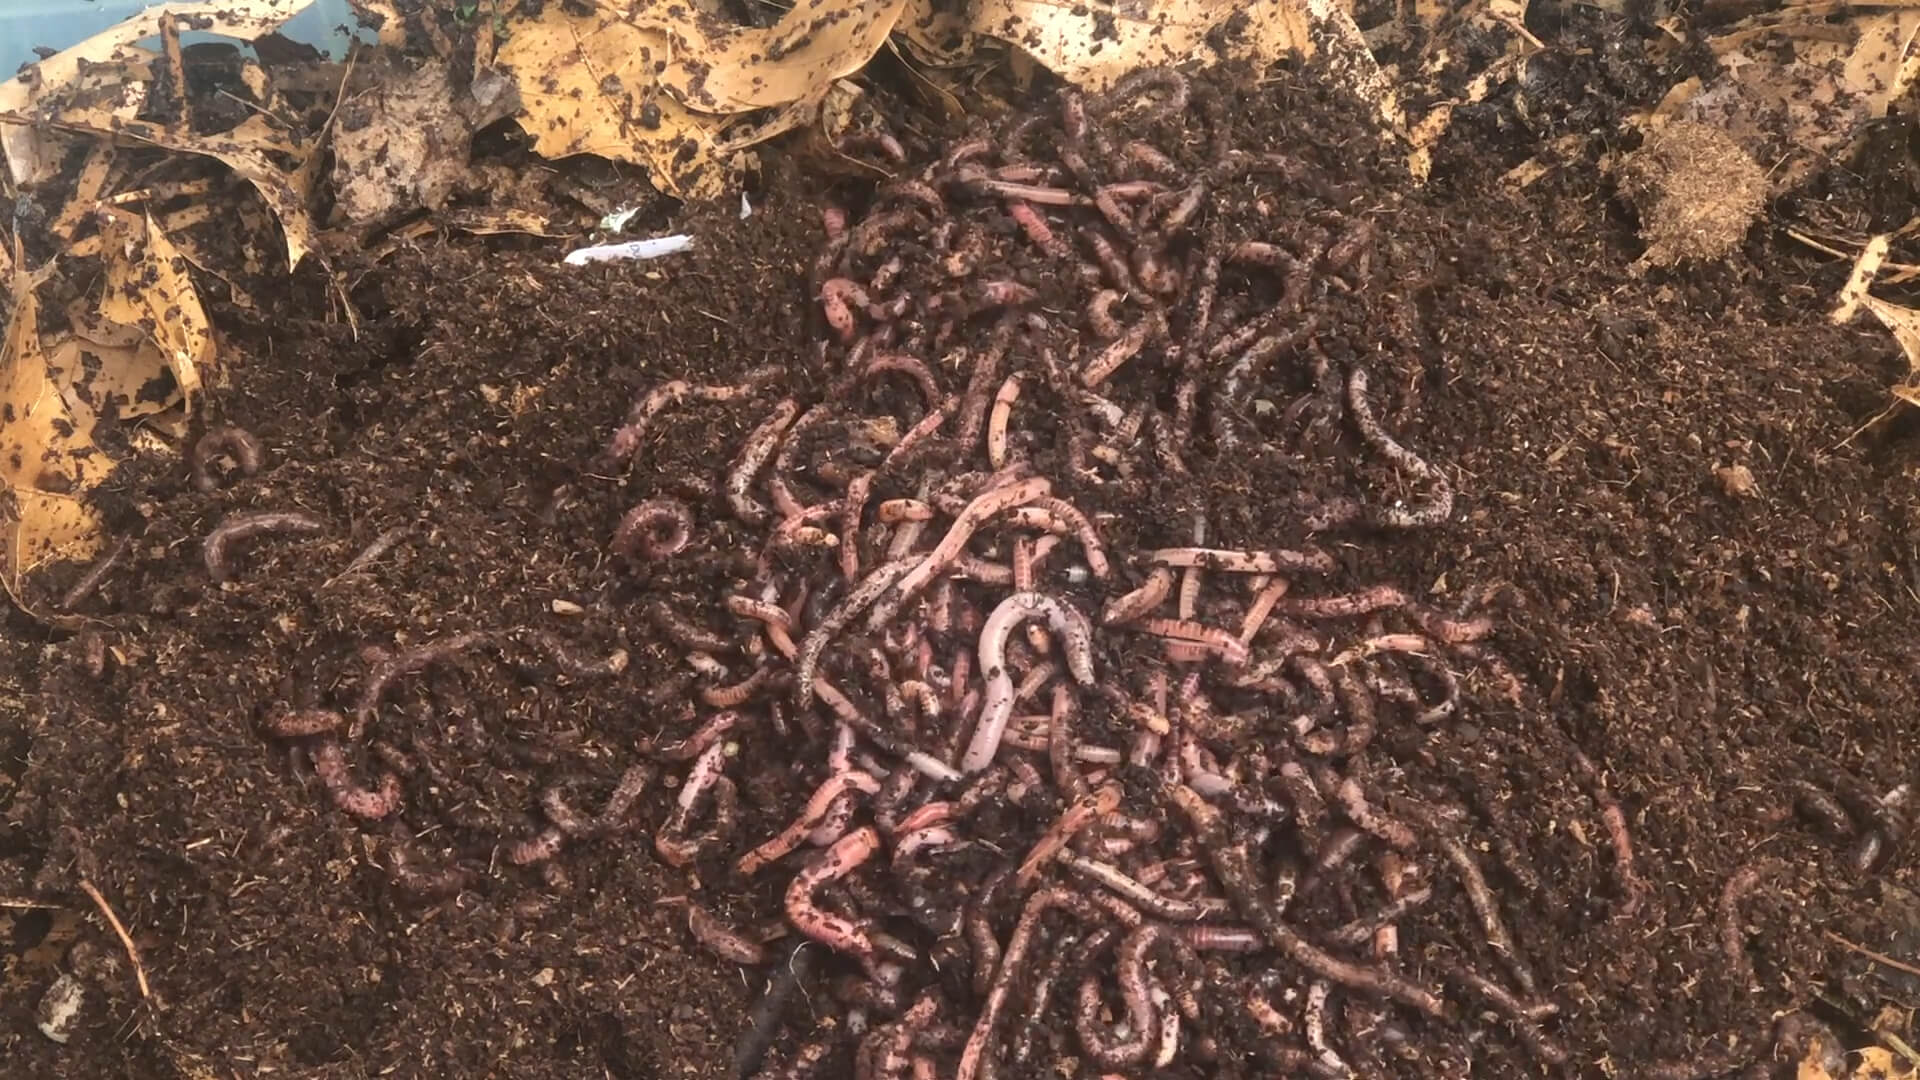
Now that your bedding and soil are ready, it’s time to add your nightcrawlers. European nightcrawlers are a popular choice due to their resilience and quick reproduction. Starting with around 400-500 worms (approximately half a pound) is ideal for a bin of this size. When you receive your worms, gently place them on top of the prepared bedding.
The worms will gradually burrow into the bedding as they adjust to their new environment. During the first few days, avoid disturbing them too much so they can settle in and start exploring. This initial adaptation period is crucial for their long-term health and productivity.
Once the worms have settled, they’ll begin feeding, reproducing, and thriving in their new habitat. With the right conditions in place, you’ll soon have a growing population of nightcrawlers ready for use as live bait.
6. Feed and Maintain Your Worms
| Task | Details |
|---|---|
| Feeding Frequency | Add food scraps every 4-7 days |
| Recommended Food | Vegetable peels, fruit scraps, coffee grounds, crushed eggshells |
| Avoid | Meat, dairy, citrus, oily foods |
| Monitoring Conditions | Check moisture and temperature regularly (ideal: 55°F – 78°F) |
| Bedding Maintenance | Lightly toss the bedding every 2-3 weeks for aeration |
To keep your nightcrawlers thriving, regular feeding and proper maintenance are key. Feed your worms every 4 to 7 days with kitchen scraps like vegetable peels, fruit scraps, coffee grounds, and crushed eggshells.
These foods are packed with nutrients that help your worms grow and reproduce quickly. Always avoid feeding them meat, dairy, citrus, or anything oily, as these can lead to unpleasant odors, mold, and even harm the worms.
Keep an eye on the conditions in your bin. The bedding should stay consistently moist (but not wet), and the temperature should ideally remain between 55°F and 78°F. Over time, you’ll notice that the worms will work through the bedding, breaking it down into nutrient-rich compost. Every 2 to 3 weeks, lightly toss the bedding to help with aeration and to prevent it from becoming compacted.
7. Troubleshoot Common Issues
| Issue | Cause | Solution |
|---|---|---|
| Bad Odor | Overfeeding, excess moisture, rotting food | Reduce feeding, remove moldy food, improve aeration |
| Worms Escaping | Bin is too wet, too dry, or too hot | Adjust moisture, check temperature, improve ventilation |
| Mold Growth | Excess food or poor air circulation | Feed less frequently, stir bedding, add more “browns” |
| Worms Not Reproducing | Incorrect pH, improper temperature, insufficient bedding | Check pH (6.0-7.0), maintain 55°F-78°F, refresh bedding |
When raising nightcrawlers, it’s common to encounter a few issues along the way. Bad odors are often the first sign something’s off, usually due to overfeeding, excess moisture, or food starting to rot. The key is moderation: reduce the amount of food, clear out any moldy scraps, and improve the bin’s aeration by stirring the bedding or adding more shredded paper.
If you notice worms trying to escape, it’s a sign that their environment isn’t right—either it’s too wet, too dry, or too hot. In this case, check the moisture levels and temperature, and adjust as needed. Mold can also be an issue if there’s too much food or poor air circulation. Feeding less often and stirring the bedding regularly can help prevent mold buildup.
Sometimes, your worms might not seem to be reproducing. This could be due to incorrect pH levels, improper temperatures, or insufficient bedding depth. Use pH strips to ensure the bedding stays within the 6.0-7.0 range, monitor the temperature, and refresh the bedding regularly.
8. Harvesting Your Nightcrawlers for Bait
| Harvesting Method | Details |
|---|---|
| Hand-Picking | Manually gather worms from the top layer of bedding |
| Luring with Food | Place food on top, cover, and collect worms after a few days |
| Harvest Frequency | Every 4-6 weeks, depending on population growth |
| Preparing for Fishing | Store worms in a cool container with moist bedding for trips |
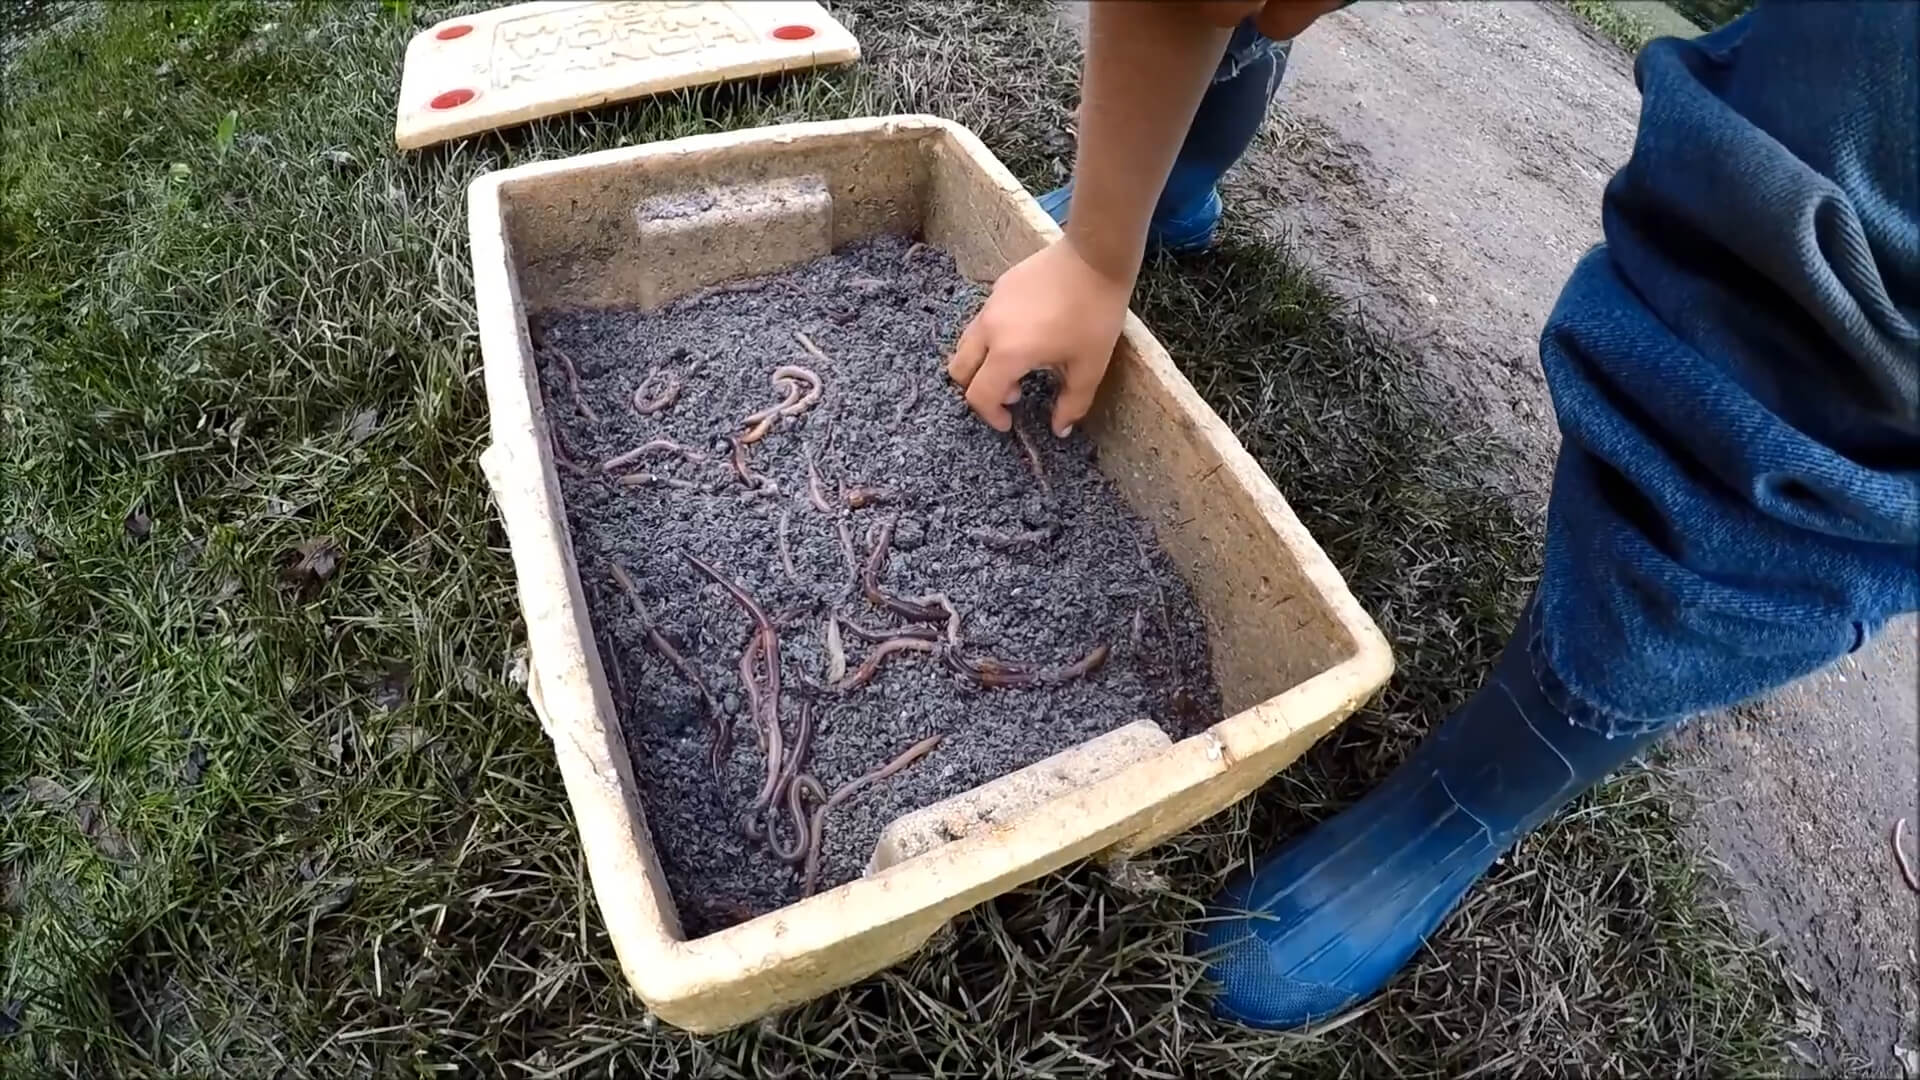
When it’s time to harvest your nightcrawlers, the simplest method is hand-picking. Just dig into the top layer of the bedding and carefully gather the worms. If you prefer a more hands-off approach, you can lure them to the surface by placing fresh food on top of the bedding and covering it for a few days. When you remove the cover, most of the worms will be gathered near the food, making it easy to collect them.
You should harvest every 4-6 weeks, depending on how quickly your worm population is growing. After collecting, store the worms in a cool container with some moist bedding if you’re planning to use them for a fishing trip soon. Proper storage ensures they stay healthy and lively when you’re ready to hit the water.
FAQs
How long does it take to raise nightcrawlers?
It typically takes around 2-3 months for nightcrawlers to mature fully, depending on factors like temperature, feeding, and overall bin conditions. Regular maintenance and proper feeding help speed up their growth and reproduction.
Can I raise nightcrawlers indoors?
Yes, you can raise nightcrawlers indoors. A garage, basement, or even a closet can be suitable locations as long as you maintain the right temperature (55°F to 78°F) and provide a dark, moist environment.
Do nightcrawlers need light?
No, nightcrawlers thrive in darkness. Direct light can stress them out, so it’s best to keep your worm bin in a dark or shaded spot. If you use a clear bin, consider covering it with a dark cloth or newspaper.
How often do I need to change the bedding?
You should change the bedding every 3-4 months or when it has been mostly broken down into compost. At that point, remove the worms, replace the bedding with fresh material, and transfer the worms back into the bin.
Why are my worms dying?
Worms may die if the bin conditions are not right. Common reasons include excessive moisture, lack of oxygen, improper temperature, or feeding them harmful food like citrus, meat, or dairy. Regularly monitor these factors to keep your worms healthy.
Can I use garden soil in my worm bin?
It’s not recommended to use garden soil alone. Garden soil can be too dense, causing compaction and lack of aeration. It’s better to use a mix of peat moss, shredded paper, and organic soil for the best results.
How many worms do I need to start a worm farm?
For a standard-sized bin (2 feet by 3 feet), around 400-500 worms (about half a pound) is a good starting amount. This gives them enough space to grow and reproduce without overcrowding.
How do I keep the worm bin from smelling bad?
A well-maintained worm bin shouldn’t smell bad. Bad odors usually result from overfeeding, rotting food, or excess moisture. Reduce the amount of food, remove moldy scraps, and ensure the bedding remains damp but not soggy.
Last Words
Raising your own nightcrawlers is an easy, cost-effective way to ensure you always have live bait ready for your fishing trips. With the right setup, care, and maintenance, you can create a thriving worm farm that not only provides bait but also helps with composting.